Last mod: 2024.12.22
Raspberry Pi - Waveshare Motor Driver HAT
Hardware
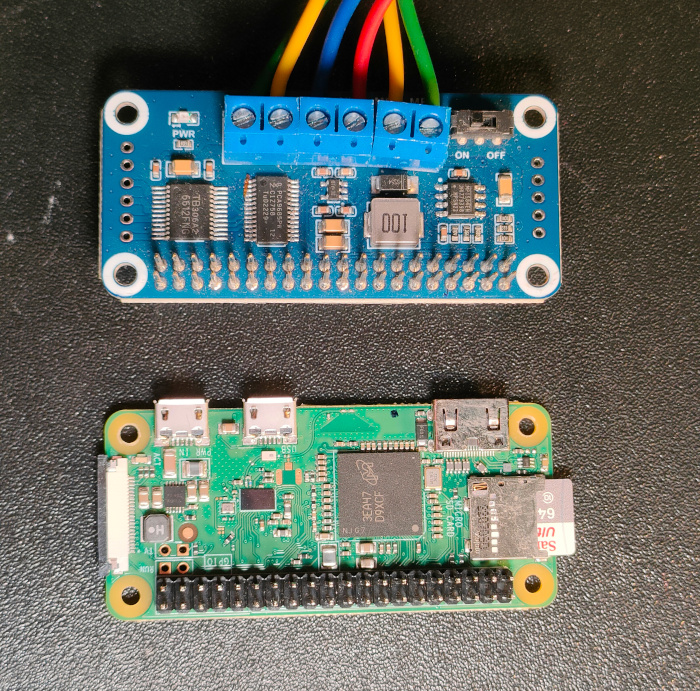
- Raspberry Pi Zero WH (with pre-soldered headers) or other version
- Waveshare Motor Driver HAT for Raspberry Pi

Connections
HAT and DC motors:
- Apply the Motor Driver HAT overlay to the Raspberry's GPIO connector.
- Connect motor A to connectors MA1 and MA2. Connect motor B to connectors MB1 and MB2.
- Connect a power supply with the voltage and current parameters required by the motors to GND and VIN.
- Switch the slider to ON.
HAT and Raspberry Pi:
- HAT communication is done through GPIO connectors: SDA, SCL, 3.3V, 5V and GND. No additional connections are required.
Enable I²C
You need to unlock the I²C interface and install i2c-tools, here are the instructions.
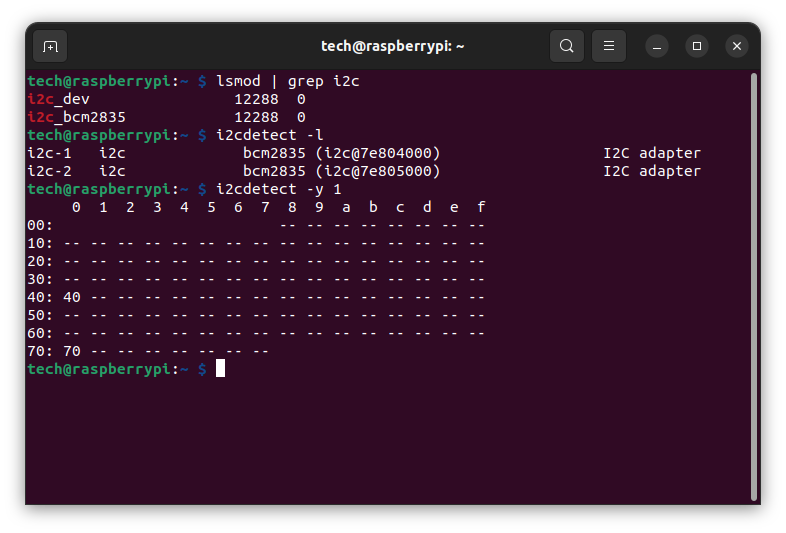
We check if our device is detected:
lsmod | grep i2c
i2cdetect -l
i2cdetect -y 1

Two devices were detected, with I²C addresses: 0x40, 0x70
Based on wiki we can assume that the device is available at address 0x40: This Motor Driver HAT, A5 is connected to ground (0) by default, you can change resistors of A0-A4 to configure the slave address. If you weld a resistor or short it, means 1, otherwise 0. The address ranges from 0x40 to 0x5F.
Example from Waveshare wiki
We download example from wiki:
wget https://files.waveshare.com/upload/9/9a/Motor_Driver_HAT_Code.7z
7zr x Motor_Driver_HAT_Code.7z -r -o./Motor_Driver_HAT_Code
sudo chmod 777 -R Motor_Driver_HAT_Code
cd Motor_Driver_HAT_Code/Motor_Driver_HAT_Code/Raspberry\ Pi/python
If we do not have the p7zip command, we install:
sudo apt install p7zip
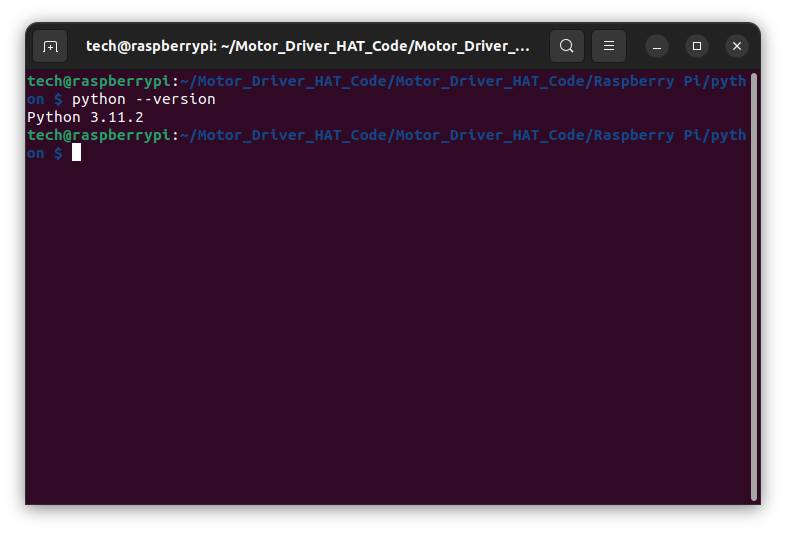
We verify if we have python3:
python --version

We install the required package:
sudo apt install python3-smbus
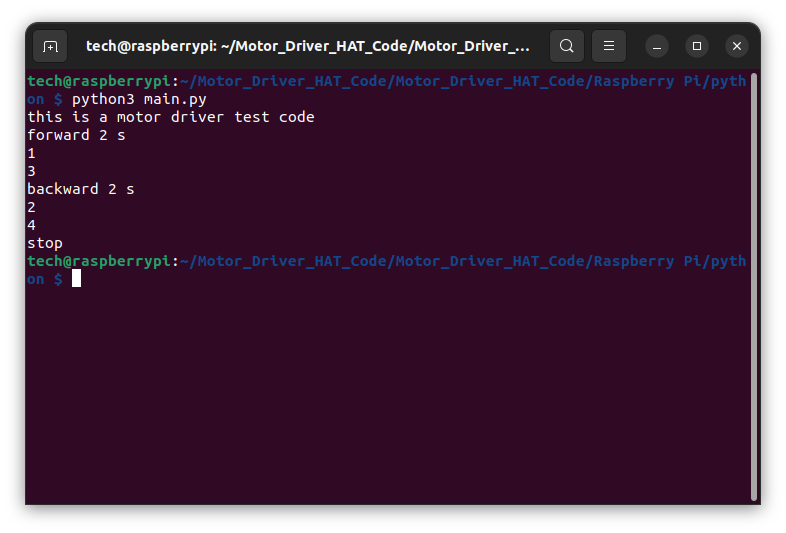
And run example:
python3 main.py

Final effect in the video:
Links
https://www.waveshare.com/wiki/Motor_Driver_HAT
To be continue...